The progress on my new sewing room is coming along. I am planning on having a group of mini quilts on one of the walls. This week was a great week to get one finished. I wanted to do a brief tutorial on the way that I appliquéd the quilt. This method could be used for almost any appliqué project you may have.
I chose to leave my edges raw because I think this look will compliment the mustaches. But, you could use this method with turned under edges. I will give those instructions in parenthesis.
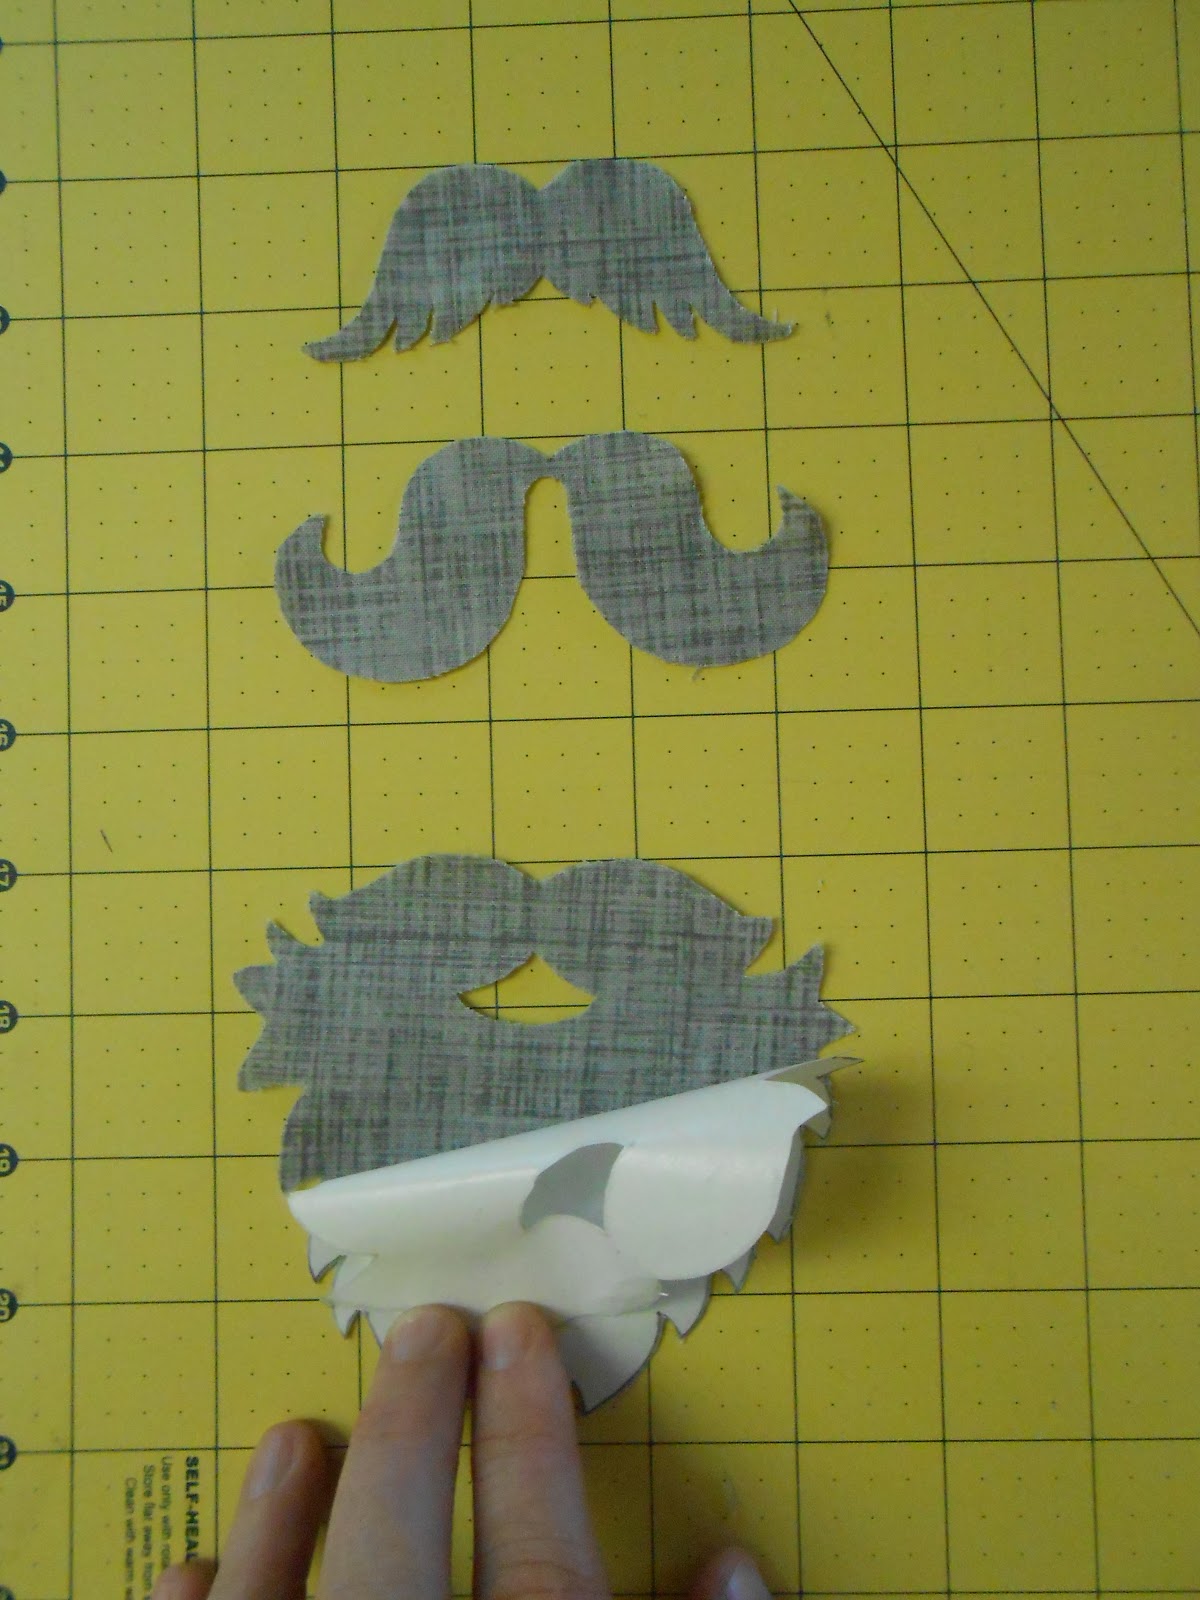
Grab the design you would like and trace it on the paper side of wax paper. After you have it traced, cut it out.
Place the wax side on the right side of your fabric and iron to attach. The best part about the wax paper is that it can be repositioned if needed.
Cut out your design along the paper and remove. (If you plan to turn under your edges, cut with a 1/4” to 1/8” fabric border around the paper. Then, simply remove the paper and place it paper side down on the wrong side of the paper. Use your iron to fold over the extra fabric. It will stick to the wax. Remove paper and attach as desired).
You can certainly use a spray adhesive. I don’t because I find that they tend to gum up your needle. Plus, the bonus for this project is that the pieces are easy to pin and hold. I did a scant seam along the outside of each mustache.
I took a picture of the back just so you could see the stitching.
Baste as desired. I use the pin to the floor with T pins method. I tend to over pin. But, with that said, I tend to not have much shifting of the quilt sandwich during quilting.
Quilt as desired. I outlined each mustache and then stippled the top. I also redid the inner scant seam of each mustache.


No comments:
Post a Comment